Southeast Texas
Bone Broth in the Instapot
Bone Broth and it’s Benefits
There are so many ways to use this nutrient packed staple. We use it in soups, to make rice, and to drink for added nutrition. We try to make a batch every week!
Bone broth contains:
- type II collagen
- amino acids
- glucosamine and chondroitin (joint supporting compounds)
- calcium
- phosphorus
- magnesium
- iron
- zinc
- selenium
- sodium and potassium
- Vitamins A, B2, B12, and E
- Omega 3s and Omega 6s
There are several benefits to incorporating bone broth into your diet. These range from joint health and mobility, supporting you gut health, healthy inflammation response, and healthy skin.
Making Bone Broth in the Instapot
In general, making bone broth is pretty “hands off.” When making it on the stove top you have to be home and watch it closely. This can also make your home warm, which is fine in the winter but not during those summer months. This is why we primarily do ours in the Instapot but you can also use a roaster oven.
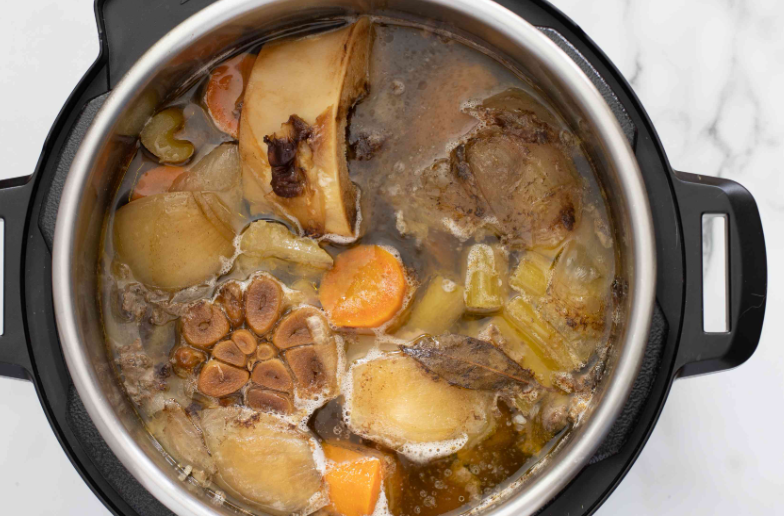
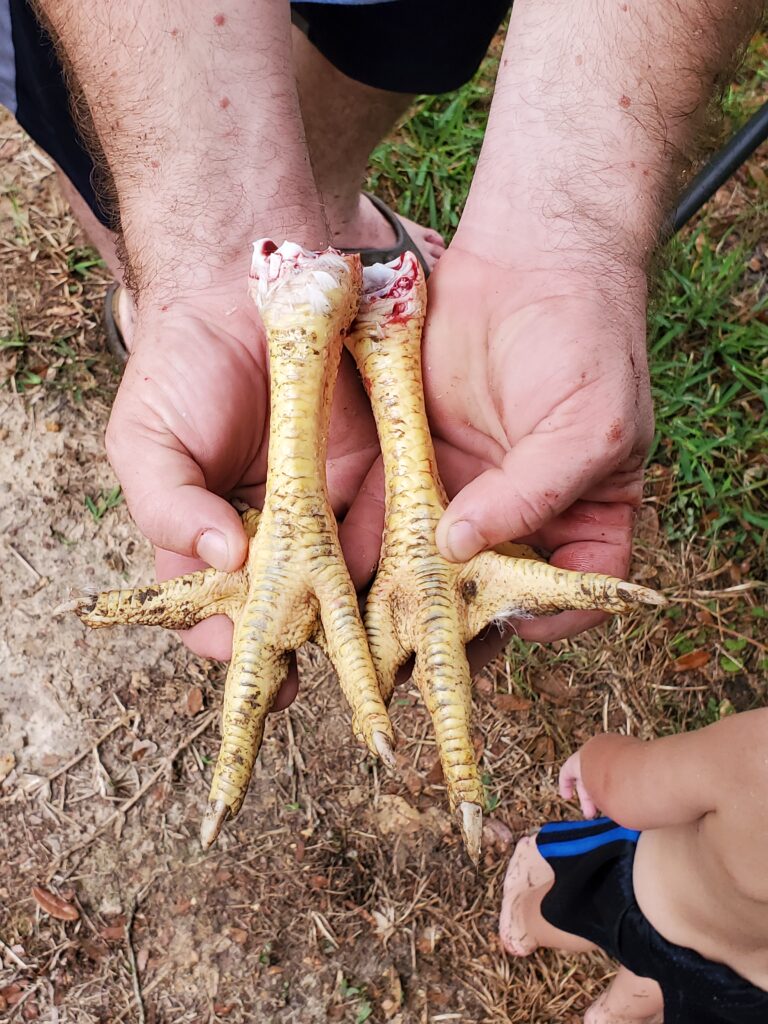
We load our Instapot with chicken carcasses or extra bones we collect while cooking throughout the week. Usually, we have chicken necks and feet from our pasture raised chickens to add into the mix. Then you will want to add water to the “max line.” We always add a splash of apple cider vinegar to help extract the nutrients and collagen from the bones. You can either stop here and add your lid or get a little creative with your seasonings and add vegetables.
The seasonings we usually add are Redmond’s Real Salt, black pepper, red pepper flakes, italian seasoning blend, and tumeric. Vegetables that work well for adding flavor could be garlic, onions, celery, and carrots. We have also added citrus peels which give a great flavor profile.
Once you have loaded your Instapot with all this goodness, put the lid on and hit the Broth/Soup button. Ours has a default of four hours on this setting. We normally do two rounds of 4 hours for chicken bones. After 8 hours they are normally soft and mashable. Beef bones are denser and may take an additional round or two. We have found if we go more than 8 hours on chicken bones, the broth tasted almost burnt….which is a no go!
After Your Bone Broth is Done Cooking
You have a couple different options here. You can pressure can the broth to make it shelf stable, freeze it for later use, or you can put it in your fridge to use during the week. Most of the time we pressure can ours with the Presto Pressure Canner.

In our Instapot, we render about five quarts of bone broth to be canned. This does add another step of processing but when you homestead and cook from scratch….what doesn’t?!
If you plan to freezer your bone broth, make sure to use a freezer safe container. A great option for this is Souper Cubes. This allows you to freeze in pre portioned amounts.
Take Away
There is nothing like being able to reach into your pantry for a kitchen staple that you made yourself. This is also very cost effective since store bought bone broth is actually pretty pricey. We hope that you try and make this in your own kitchen to provide your family with broth that is nutrient packed and so very delicious. Check out our video for the process!

